This time I introduce some of the more advanced but still very basic adjustments one can do to improve the photos. But again I’m not just going to write everything again but point out to sources where to find full articles on photo adjustment.

 …
…
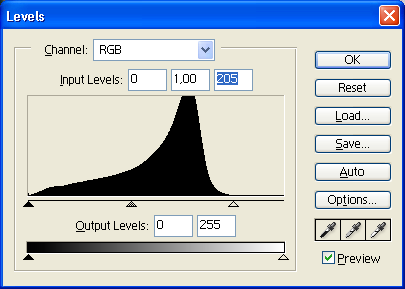
 First of all, let’s have a look on ‘levels’ tool that is available on PhotoShop and on GIMP. The idea is to remove the missing black and white point levels. In other words to make the flat looking images more vivid and colorful. ‘Auto levels’ can be tried out as well. Quite often it does very good job.
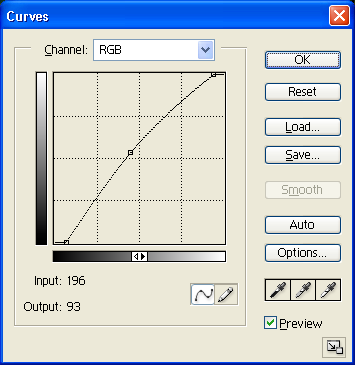
 Next thing to do is adjust the ‘curves’. There are different ways to use this tool but very simple rule of thumb is to drag the markers in the lower and upper corners along the x-axis a little to get some pitch black and snow white into the picture. Moreover the “curve” that looks more like a line by default can be made to bend a little to the top left or bottom right to make the picture brighter or darker.
Sources:
PhotoShop levels
Basic Image Adjustment
Really basic photo editing with GIMP